What is an Alternator, and Why Does It Need Fixing?
An alternator is a crucial component of your car’s electrical system. Imagine it as the engine’s tireless energy generator for keeping all your car’s electronics alive – lights, radio, air conditioning, even the computer that helps manage everything. The alternator uses a spinning magnetic field and an internal coil to produce electricity, converting mechanical energy directly into usable power. Why does it need fixing? Problems with the alternator can be frustrating and costly. Some of the most common issues are: * **Failing Bearings:** One of the main culprits, bearings wear down over time, causing the alternator’s shaft to vibrate excessively, leading to premature failure. * **Worn-out Brushes:** In older alternators or during heavy use, the brushes, which make direct contact with the magnetic field and produce voltage, can wear out, leading to decreased output. * **Dirty Electrical Connectors:** Dirt and debris can accumulate on electrical connectors, disrupting their connection and causing erratic electrical flow, potentially leading to a complete failure of the alternator’s function.
A Step-by-Step Guide for Fixing Your Car Alternator
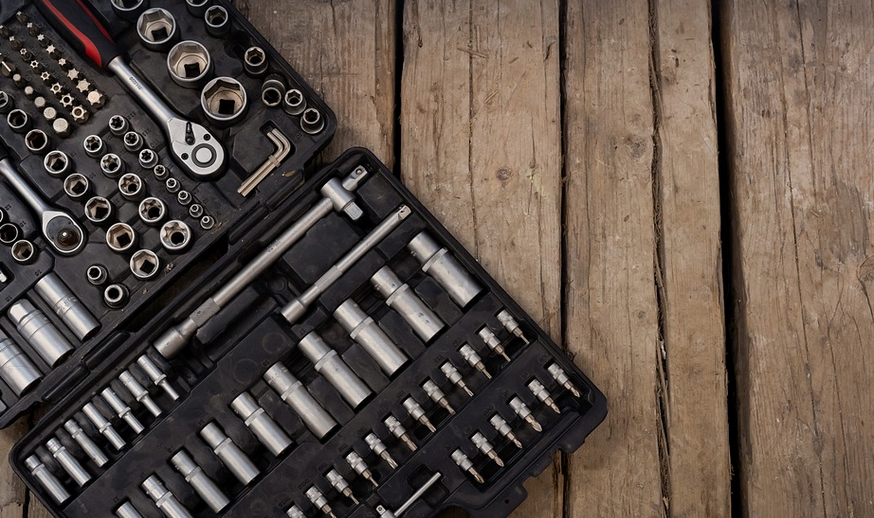
Before diving into any repair, remember that working with car batteries and electrical components requires caution. Disconnect the negative battery terminal before beginning to avoid accidents or shocks. Here is a step-by-step guide to troubleshoot and fix your car alternator: * **1. Identify the Issue:** Start by understanding why your car’s alternator might be malfunctioning. Is there no power at all, are you experiencing flickering lights, or does your engine turn over but not start? If you are unsure, consult a mechanic, or follow online troubleshooting guides specific to your car model. * **2. Gather Supplies:** You will need some basic tools and materials for replacement: * **Alternator:** Get an alternator from a trusted source; check compatibility with your vehicle’s make and model before purchasing. * **Wrench Set:** This includes both regular wrenches and sockets to fit various bolts on the engine. * **Socket Wrench:** You might need this for more complex repairs, particularly when working with nuts and bolts attached to the alternator body. * ** Screwdriver set:** This is essential for removing screws and components that hold the alternator in place. * **Protective Gear:** Always wear eye protection and work gloves to protect yourself during the process. A grounded workbench also helps ensure safety. * **3. Disconnect Battery:** Before anything else, detach the negative terminal of the car battery to prevent any electrical shorts or damage to other components. * **4. Locate the Alternator:** The alternator is usually located near the engine block, often on a bracket that connects to it. Some models have it directly connected to the engine. Refer to your car’s owner manual for specific guidance if you are unsure of its location. * **5. Remove the Old Alternator:** Once you’ve identified it, use wrenches and sockets to loosen bolts securing the alternator. Remember that these might require more force than you think! Use caution during this step as the car’s electrical system may be running, so be prepared for unexpected sparking or surges. * **6. Connect the New Alternator:** Ensure you have the correct replacement alternator before you begin installation. Carefully align it with your car’s engine and connect the necessary wiring and bolts according to the manufacturer’s instructions. * **7. Reconnect Battery:** After successfully installing the new alternator, reconnect the negative terminal of the battery. * **8. Test Your Alternator:** Once you are sure that everything is properly installed, start your car and check for any unusual sounds, vibrations or flickering lights. If there’s no change, it may indicate another problem needs to be addressed before proceeding further.
Troubleshooting and Maintenance
Always remember your car’s alternator requires regular maintenance: * **Clean the Battery Terminals:** Accumulating dirt and corrosion on the battery terminals can prevent proper electrical flow and cause premature wear of the alternator itself. * **Regular Checks:** If you notice any unusual noises, vibrations, or flickering lights when running your car, it’s crucial to take a closer look and potentially address the issue before it escalates. * **Consult a Mechanic:** If you are unsure about anything in this guide, consult a qualified mechanic for assistance and to get expert advice on maintaining your car’s electrical system.
The Importance of Safety
Remember that working with electrical components is not always easy. Be especially careful if you have no experience. If in doubt, always seek professional help from a qualified mechanic. *Keep these tips in mind as you troubleshoot your car’s alternator! You can learn to fix minor problems yourself and even save money by doing so, but be cautious! When in doubt, it’s best to consult a professional.*
This article provides an overview of how to fix a car alternator. If you have any questions or concerns about the process, please ask.